Showing posts with label Baking. Show all posts

Monday, 15 April 2013

Cheese, Tomato and Red Onion Rolls

These are a bit like savoury Chelsea buns - I had some cheese (mozzarella and taleggio), tomato sauce (tin of tomatoes, olive oil, garlic, herbs, sugar, salt and pepper reduced down to a thick sauce consistency), cherry tomatoes and red onion left over from some pizza making so I thought I'd see how these turned out - rather delicious as it happens! The filling could be varied according to your tastes and what you have in the fridge.


For the Dough:

500g Strong White Flour
7g Fast-action Yeast
10g Salt
310ml Water (room-temperature)
1 Tbsp sunflower oil

For the Filling:

Approx. 100g of Cheese (I used mozzarella and taleggio)
3 Tbsp Tomato Sauce (see above)
Half a Red Onion
A Handful of Cherry Tomatoes

1) Weigh out the flour in a bowl, and add the yeast and salt, keeping them separate  Add the water, mix, bring the dough together. Add the sunflower oil, and knead for 5-10 minutes. Form it into a ball and leave it in an oiled bowl covered with cling film to rise for 1-3 hours, until doubled in size.

2) Once risen, gently tip the dough out of the bowl onto a floured surface, trying not to knock too much air out of it. Stretch it into a rectangle (approx. 30x20cm). Spread your tomato sauce all over the dough, then place strips of cheese and thinly sliced red onion on top. Roll up the rectangle, keeping it as tight as possible. Once rolled, secure it by sealing the join with your fingers. With a sharp knife, cut the roll at 3cm intervals - you should end up with 10. Place the rolls on a baking tray lined with baking paper, leaving at least 1.5cm between each roll. Put the tray into a plastic bag (a clean bin liner works well) and leave to prove until doubled in size - between 30mins and an hour.

3) Once proved, dust the rolls with flour and push half a cherry tomato (cut side up) into the middle. Bake in a pre-heated oven at 220/200(fan) for 25-30mins. Leave to cool slightly on a wire rack, then tuck in while they're still warm.

Saturday, 2 March 2013

Recent Bread Baking Exploits

Last year I got in a bit of a rut with my bread baking - I was baking two white bloomers, once a week, and if I'm honest it all got a bit boring. This year, I'm being far more adventurous, helped in part by a baking stone, a shiny new food mixer (with a dough hook) and a couple of excellent books (namely 'The River Cottage Bread Handbook' and Paul Hollywood's 'How to Bake'). Here are a few of my recent experiments:

Ciabatta


A very difficult bread to make without a food mixer - ciabatta requires an incredibly wet dough in order to get the aerated texture. I made this one with some local flour from Gilchesters Organic - a mixture of 'rare breed' strong white bread flour and fine semolina. It's lovely flour that gives a noticeably different flavour to anything else that I've tried. Being home-grown it's not quite as high in gluten as some of the imported strong flours that I'd normally use, so it seems to benefit from a little extra kneading. I was quite pleased with the results - light and crusty, and richly flavoured from the olive oil. It made great panini the next day too!


Pizza Bread


An experiment in using a very wet ciabatta style dough as a pizza base. This was topped with mozzarella, blobs of rich tomato and garlic sauce, and some crispy fried bacon. It was very tasty and the ciabatta base was very light and crisp, but because of the nature of a wet dough the transfer from wooden board to baking stone proved a little tricky - precious buffalo mozzarella fell off onto the baking stone, only to be instantly cremated. A little practice is needed!

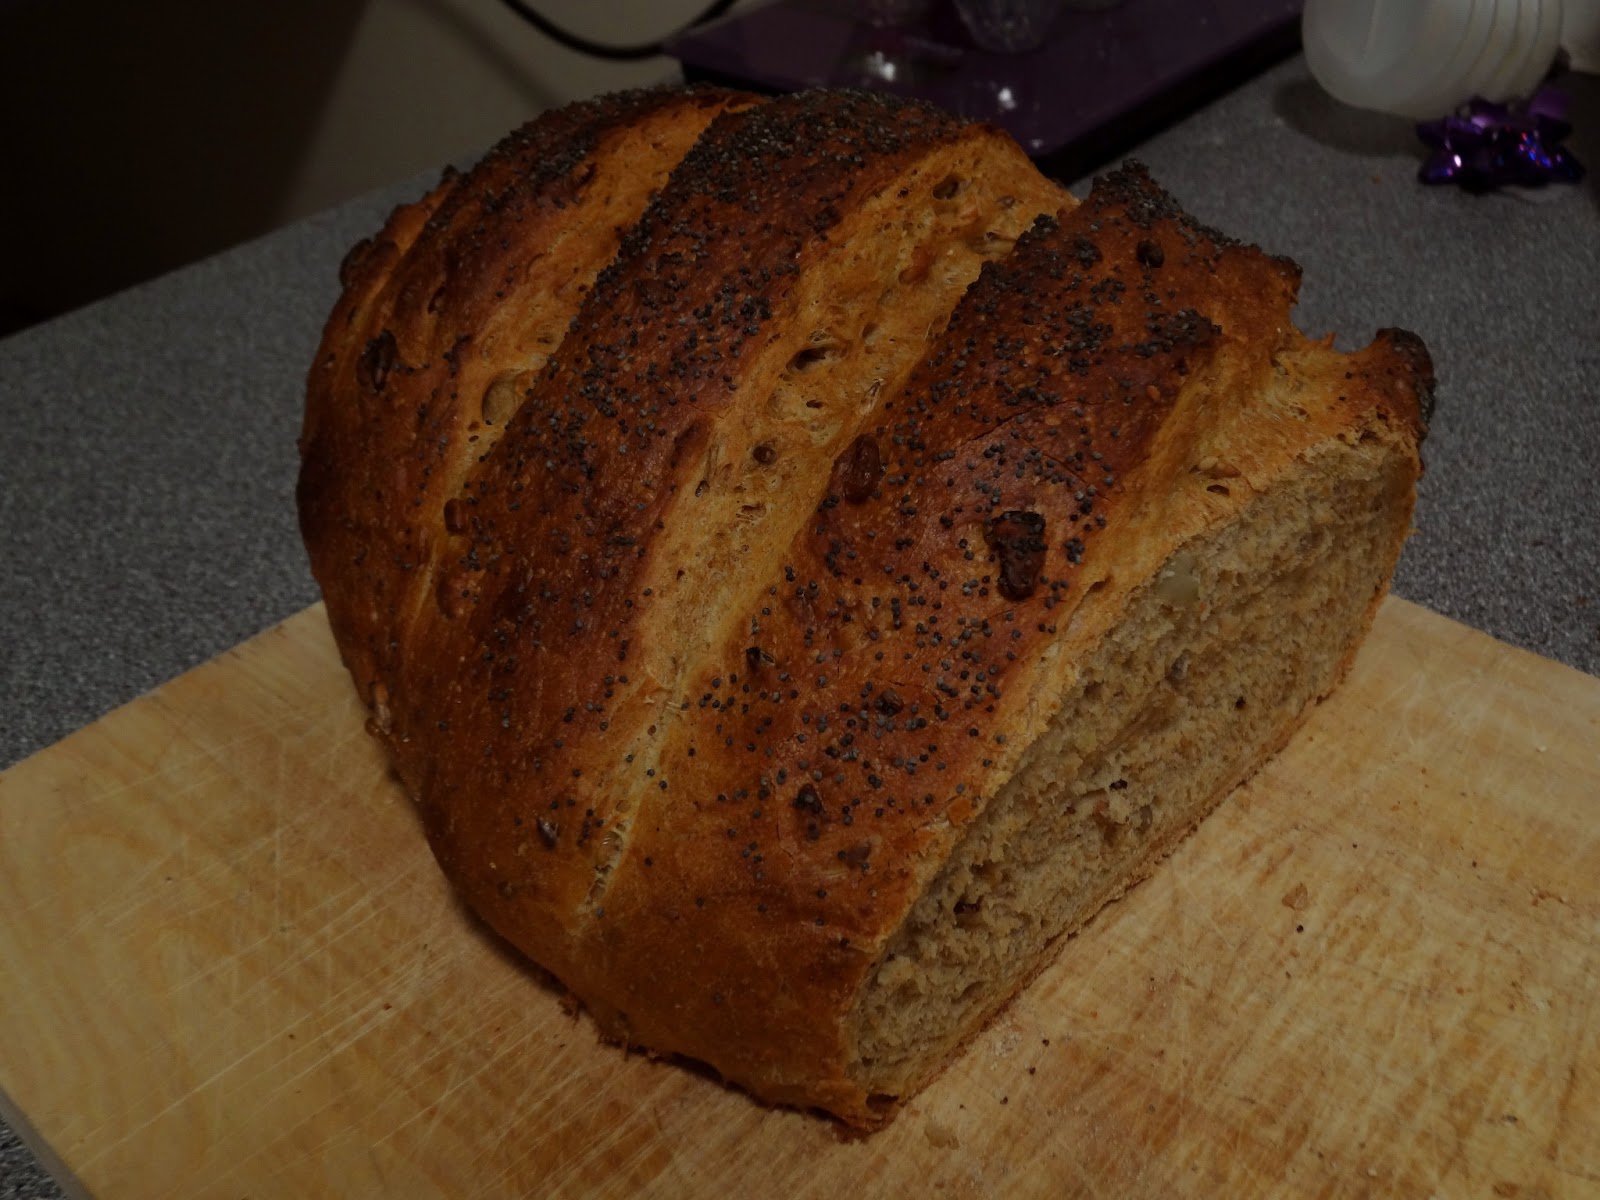
Seeded Bloomer


This was a case of using whatever I had in the cupboard - some Shipton Mill malted wholemeal flour, some strong white bread flour, a handful of seeds....

Brioche


Not a bread to bake if you're on a diet - this brioche contains 5 eggs and a whole pack of butter! As you would expect, it is light but rich - it virtually melts in the mouth, and although it's sweet it's still equally nice with cheese as it is with jam or marmalade. It's also remarkably easy to make provided you have a food mixer with a dough hook. Flour, salt, yeast, sugar, eggs and milk are kneaded together, and the butter is beaten in once the dough is formed. It's then chilled overnight in the fridge before shaping into balls and arranging in a deep cake tin. It then proves for 3 hours and bakes for 30 mins or so. I had a little dough leftover, which I topped with sesame seeds and baked in a muffin tray, - it came out looking like a brioche toadstool!


Thursday, 31 January 2013

Challah Bread

After the fun of plaiting a loaf last week I thought I'd have a go at baking Challah - a traditional Jewish type of bread which is somewhere between a normal white loaf and a brioche - the dough is enriched with eggs and a little milk and sugar, which makes it deliciously rich without losing the light airiness that we associate with yeasted breads. I followed Paul Hollywood's recipe for this, using a three strand plait shape - a total breeze after the eight strand fun last week! The shaped dough is egg-washed, left to prove and then baked for about 25 minutes. It does take on colour quickly so it's worth watching it - I put a sheet of foil over mine after the first 15 minutes to stop it browning any further. Here it is in all its glory:


It's great toasted and buttered, and I reckon any stale leftovers would be great in a bread and butter pudding (not that there's much chance of stale leftovers in this house!).

Friday, 25 January 2013

Plaited Loaf

This one was a bit of fun - an attempt at Paul Hollywood's 8 strand plait, as featured in his 'How to Bake' book. The dough is just a standard white bread dough (using 600g strong white bread flour). Once the dough has risen to at least double its original size it is knocked back, then split into 8 equal portions (I found each piece weighed 126g - it's worth being quite precise).

Not too little, not too much!

Next, the balls of dough are rolled out into strands of around 40cm in length:

Bread or sausage?

Next, the plaiting begins! The trick, I think, is keeping it quite tight and making sure the strands remain nice and thin.

Bread or octopus?

Eventually you reach the end of the strands, and at this point I find it's usually a good idea to hold the shaped dough up and get someone to take a photo of you looking smug:

I made this.

The dough is then left to prove for about an hour, while it nearly doubles in size.

Time to 'prove' your worth, dough!

Finally, the dough is baked at about 220C for about 30mins, with a baking tray of boiling water in the bottom of the oven to help delay the formation of the crust, and thus help it rise further. I found my oven browned the crust pretty satisfactorily after about 15 mins, so I turned it down to 180C for the remainder of baking. As with all bread, a hollow sound when tapped on the bottom is a fairly good indicator that it is cooked, although if you're in any doubt then an extra 5 minutes will do it no harm.

When the bread has cooled sufficiently, the final step is to have another smug photo taken with the finished product:

Did I mention that I made this?

Every bit as important as looking good, it tastes great too. Good quality flour and a good slow rise are two of the key things when making a loaf (and, coincidentally, these are two things that are so often neglected in commercially produced bread). Furthermore, it slices into a pleasing cloud-shaped cross-section - certainly cheers me up in the morning!