Showing posts with label Stone baked. Show all posts

Friday, 25 January 2013

Plaited Loaf

This one was a bit of fun - an attempt at Paul Hollywood's 8 strand plait, as featured in his 'How to Bake' book. The dough is just a standard white bread dough (using 600g strong white bread flour). Once the dough has risen to at least double its original size it is knocked back, then split into 8 equal portions (I found each piece weighed 126g - it's worth being quite precise).

Not too little, not too much!

Next, the balls of dough are rolled out into strands of around 40cm in length:

Bread or sausage?

Next, the plaiting begins! The trick, I think, is keeping it quite tight and making sure the strands remain nice and thin.

Bread or octopus?

Eventually you reach the end of the strands, and at this point I find it's usually a good idea to hold the shaped dough up and get someone to take a photo of you looking smug:

I made this.

The dough is then left to prove for about an hour, while it nearly doubles in size.

Time to 'prove' your worth, dough!

Finally, the dough is baked at about 220C for about 30mins, with a baking tray of boiling water in the bottom of the oven to help delay the formation of the crust, and thus help it rise further. I found my oven browned the crust pretty satisfactorily after about 15 mins, so I turned it down to 180C for the remainder of baking. As with all bread, a hollow sound when tapped on the bottom is a fairly good indicator that it is cooked, although if you're in any doubt then an extra 5 minutes will do it no harm.

When the bread has cooled sufficiently, the final step is to have another smug photo taken with the finished product:

Did I mention that I made this?

Every bit as important as looking good, it tastes great too. Good quality flour and a good slow rise are two of the key things when making a loaf (and, coincidentally, these are two things that are so often neglected in commercially produced bread). Furthermore, it slices into a pleasing cloud-shaped cross-section - certainly cheers me up in the morning!

Sunday, 13 January 2013

Home-Baked, Stone-Baked Pizzas

It was an extremely successful Christmas as far as kitchen equipment goes - amongst other things we now have a mixer, a mincer, a ravioli press, a proper carving knife and, perhaps most exciting of all, a baking stone (from http://hobbshousebakery.co.uk/) for all my bread baking exploits! A baking stone essentially gives you that stone baked effect in a normal oven. It absorbs heat much better than a baking tray and therefore gives the dough more of a lift when it goes into the oven, allowing it to rise more as the air pockets expand. All of this means that as well as great loaves, I can now make proper pizzas with a crispy, blistered base:

Couple of stone baked white bloomers


Just like Mama used to make....

To make 2 pizzas I use:

125g Strong White Bread Flour
125g Plain White Bread Flour
3g Fast-action Dried Yeast
5g Salt
160ml Water
1 tbsp Olive Oil

In a bowl, combine the flours, yeast and salt, keeping the yeast and salt on seperate sides of the bowl. Add the water and mix with one hand until the dough starts to come together. Tip it out onto a clean surface, add the oil and knead for 5-10mins until smooth and stretchy. Form it into a round. Clean the bowl out, lightly oil it, place the dough in it and cover with clingfilm. Leave to rise for 1-3 hours. If you have a baking stone, preheat your oven to maximum well before you intend to bake, with the stone on the shelf in the top of the oven.


Ready for the oven!

Once risen, tip the dough out onto the surface, deflate it with your fingers and divide into two equal portions. Form each into a ball then roll them out to roughly 1-2mm thickness. Coat them well with semolina or polenta and place on a wooden board or a rimless baking sheet. Add your toppings (don't overcrowd it) and transfer either to your baking stone (the transfer can be a little tricky - make sure the pizza isn't too big for the stone, and that the base is well coated so that it won't stick to your board) or to a preheated baking tray. Bake for up to 10 mins - keep an eye on it, you'll know when it's done.

A word on toppings:

  • For a tomato base you can use tomato puree, but I think you get a much better depth of flavour if you fry a little garlic and thyme in olive oil, add a tin of plum tomatoes, mash them with a fork, add a bay leaf, salt and pepper, and a pinch of sugar and reduce down for 30 mins until you have a deliciously tomato-ey paste.
  • If you're using veg such as aubergine, courgette, pepper then it's nice to roast them for about 30 mins first - that way you get a nice caramelisation, and they lose a lot of their water content, meaning you don't get a soggy base.
  • When you've arranged your toppings, a little drizzle of olive oil will help get everything nice and charred.
  • I went for a classic Mediterranean style roast veg and buffalo mozzerella topping on this occasion, but sometimes it's good to think outside of the box - try some seasonal veg like kale or beetroot, or some local cheese - blue works great, as does goat's cheese.
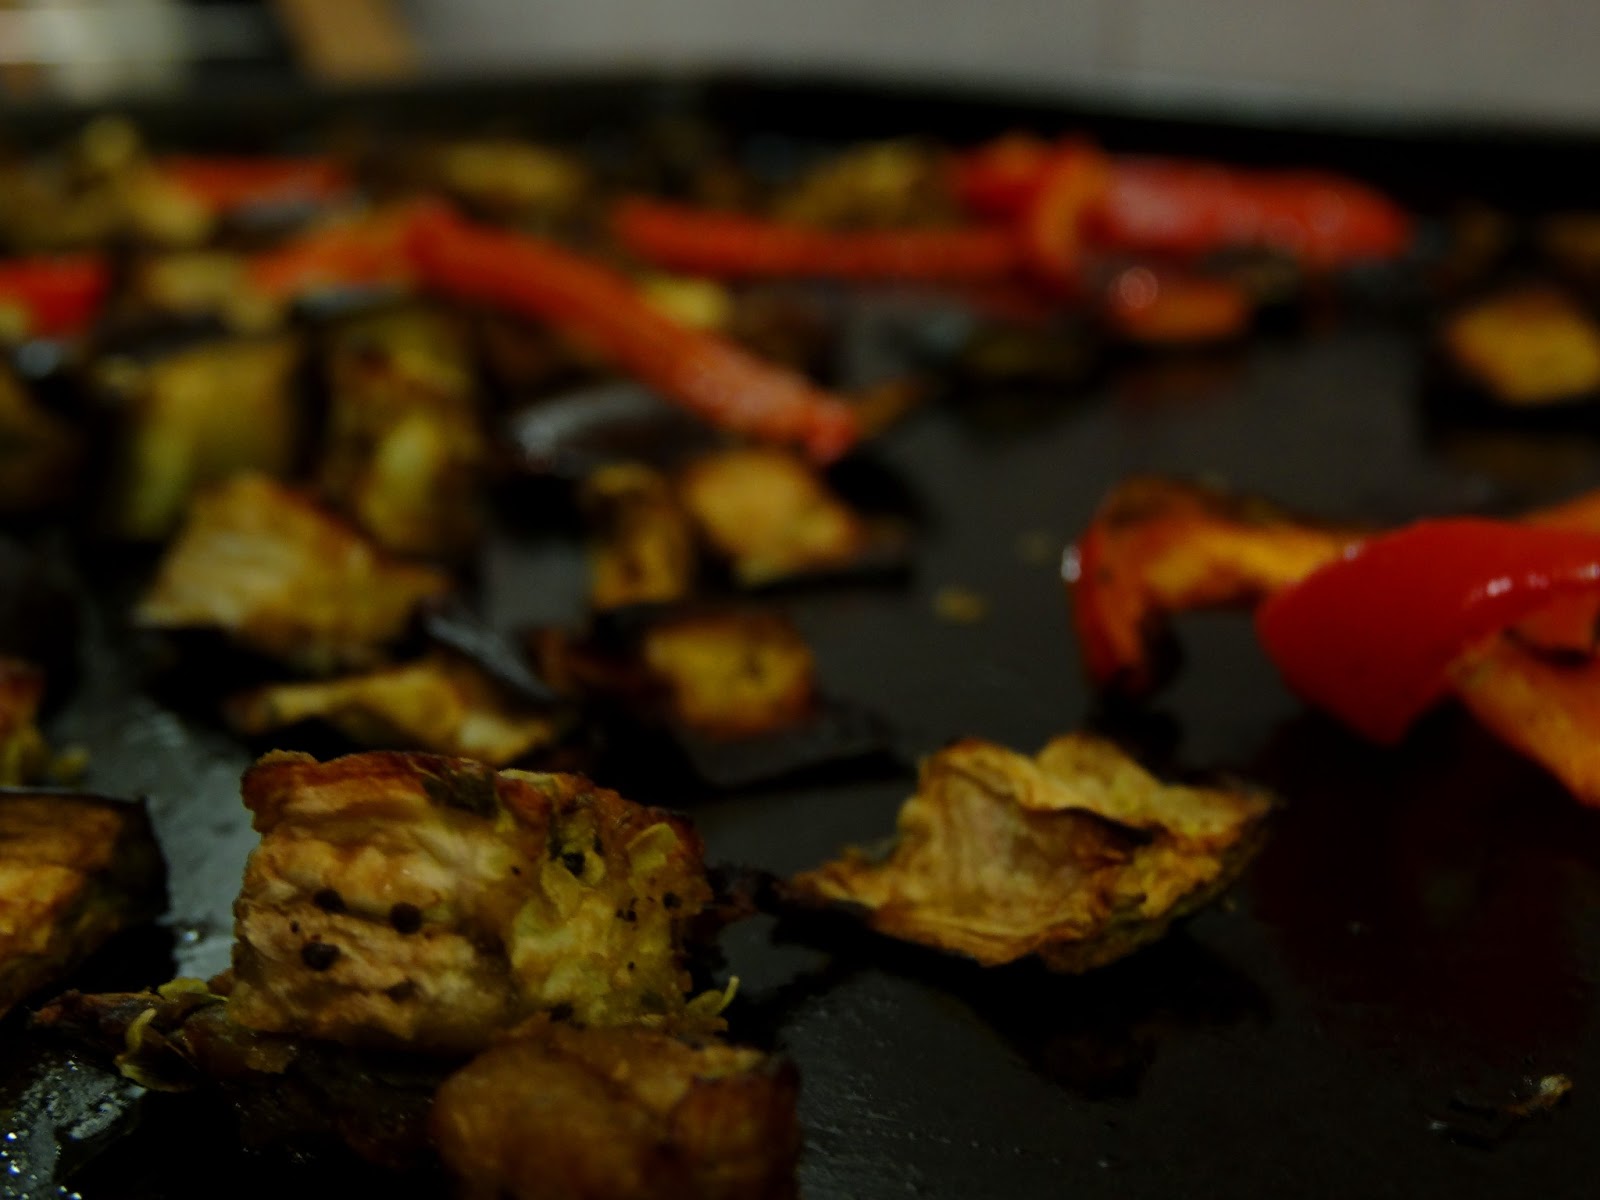
Aubergine and Red Pepper, pre-roasted